LearnDesigning for 3D printing
Easy CAD for 3D printing: the fastest routes to a printable part for beginners
Three ways to get from an idea to a printable STL, ranked by hours to first part, with honest notes on where each one stops working.
· 8 min read
The easiest CAD for 3D printing depends on how many hours you want to spend before your first part comes off the bed. If the answer is "none", describe the part in words and let a text-to-CAD tool build it. If you have an hour, Tinkercad. If you have a weekend, Fusion or Onshape, and you will never outgrow them.
The three routes at a glance
| Route | Time to first part | Free tier | Where it stops |
|---|---|---|---|
| Describe it in words | Minutes | One part, no account | Organic shapes, large assemblies |
| Tinkercad | About an hour | Everything | Rounded edges, editing a dimension later |
| Fusion or Onshape | A weekend | Non-commercial use | Nowhere, if you keep going |
Route 1: describe the part (minutes)
You type what you want. "A wall hook for a 5 kg bag, two screw holes, PETG." If the description is vague, the model asks up to three short clarifying questions. Then it writes a build123d script with named parameters and checks, a sandbox runs it, and you see the checklist and a slider for each parameter. Moving a slider re-runs the script for free. Download the STL and print.
What you can make after the first session. Brackets, clips, hooks, adapters, knobs, spacers, enclosures, gears. A 6 mm cable clip becomes an 8 mm clip by dragging one slider.
What you cannot make. Organic shapes. A figurine, a face, a sculpted handle that fits your palm: those are mesh territory, and this route is for mechanical parts only. Large assemblies are the other gap. You can build the pieces one at a time, but not a 40-part gearbox from one prompt.
Cost. One free part with no account. Four credits at signup. Hobby is $15 per month for 25 credits with STL export. Maker is $49 per month for 80 credits with STL and STEP export. Prices in USD, before tax.
Honest limit. It will not teach you CAD. It gets a part printed today.
Route 2: Tinkercad (an hour)
Tinkercad is Autodesk's free web app for 3D design. You drag primitive shapes onto a workplane, resize them, mark some as holes, group them, export an STL. The Learning Center opens with "Start designing in 3D in minutes" and a ladder of one-part lessons: Place It, Move It, Rotate It, Size It, Group It, Align It. The five-part "Let's Learn Tinkercad!" course covers navigation, moving and scaling, grouping and the align tools. Do those and you can build a box with holes in it within the hour.
What you can make after the first session. Boxes, plates, simple brackets, a phone stand made of two slabs, a cable clip made from a cylinder with a smaller cylinder subtracted.
What you cannot make. Tinkercad builds parts by combining and subtracting shapes, so edge rounding is limited to shapes that already have it. Parametric edits are the other wall. A Prusa forum user who uses it "for most everything" calls it "horrible if you need to go back and make changes to a dimension and for large projects with many parts and for designs with curves. You are just manipulating premade building blocks." The Bambu Lab forum's take: "Works well for really basic stuff, but beyond that, getting results can become very time consuming."
Cost. Free. Tinkercad's own footer: "Tinkercad is a free web app for 3D design, electronics, and coding."
Honest limit. Tinkercad is where most people start and where most people stall. The day you need to change one dimension on a finished design, you rebuild it. When that day comes, read the Tinkercad alternatives post.
Route 3: Fusion or Onshape (a weekend)
Both are real parametric CAD. You draw a 2D sketch, add dimensions, extrude it, then add features on top. Every dimension stays editable. Change a hole from 6 mm to 8 mm and the whole part updates.
Learning path. Autodesk's getting-started page for Fusion is a 56-minute video covering the interface, sketches, primitives, assemblies and joints. Onshape's CAD Basics pathway is "geared to a user who may have never used 3D CAD before" and lists an average time to complete of 7 hours, across sketching, Part Studios, assemblies and drawings. A weekend is a fair estimate for either.
What you can make after the first session. A sketched, dimensioned, extruded part with a fillet on the right edge. By Sunday night, a tapered hose adapter or a knob with a D-shaped bore.
What you cannot make. Nothing, in principle. The ceiling is your time.
Cost. Fusion for personal use is free for qualifying hobbyists, as a 3-year subscription. Autodesk calls it "a limited version that includes basic functionality for home-based projects", for people "generating less than $1,000 USD annually". The full version is listed at $680 per year, or $85 per month. Onshape Free is "for hobbyists and learners. Non-commercial only, with public document storage." Every design you make on it is visible to anyone. Standard, the first paid plan, is $1,500 per user per year. What each free tier really allows is in free CAD software for 3D printing.
Honest limit. The learning curve is real, and the free tiers move under you. In 2020 Autodesk capped the personal tier at 10 active documents and dropped several export formats from the File > Export menu, keeping STL and, after a backlash, STEP. Onshape Free makes your work public. A Prusa forum poster "bitten several times by 'free' software from the big corporate publishers" now uses FreeCAD only. Whichever you pick, keep local STEP exports of anything you care about.
The first five parts to make
Whatever route you chose, these five parts teach clearance, orientation, wall thickness and load. The dimensions are our own starting points, not tested specifications. Measure your hardware with a caliper before you print. The design for 3D printing post covers the rules behind the numbers.
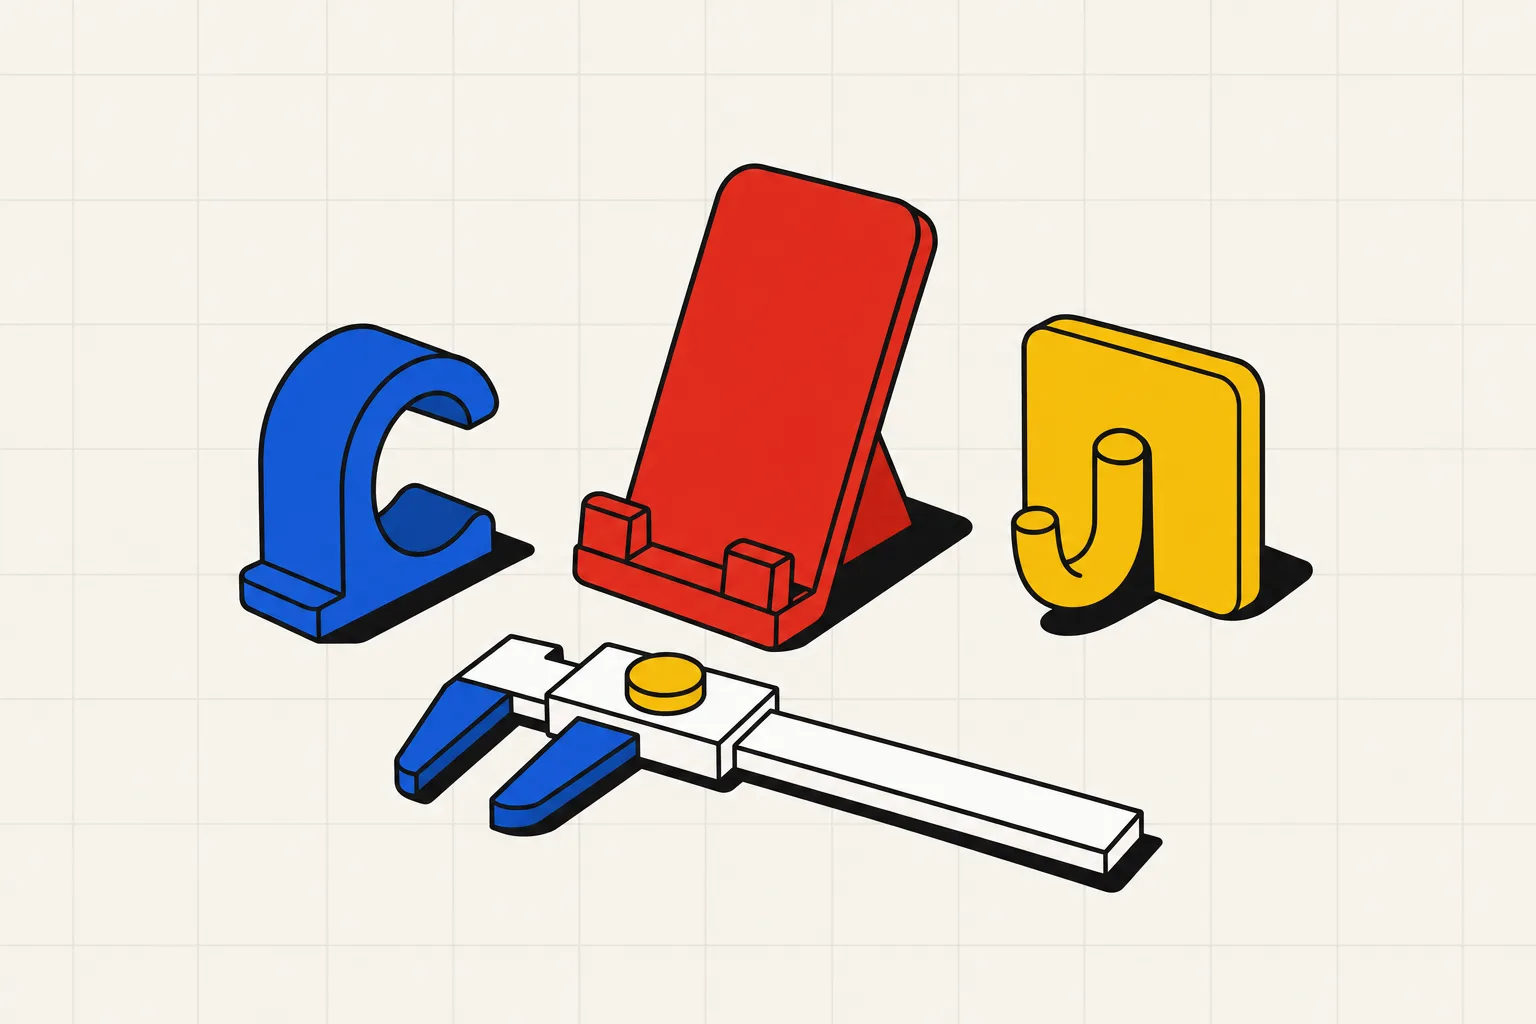
1. Cable clip for a 6 mm cable. A C-shaped ring, 6.4 mm inside, with a 4.5 mm opening so the cable snaps in and stays. Wall 2 mm, width 10 mm, plus a 15 x 10 mm tab with a 3.5 mm screw hole. Print it on its side so the snap does not split along a layer line. PETG takes the flexing. For PLA, widen the opening to 5 mm.
2. Phone stand at 60 degrees. A base plate 80 x 70 mm, 4 mm thick. A back plate 90 mm tall, leaning 60 degrees. A front lip 12 mm tall with a 12 mm slot for the phone and a notch for the charging cable. Print the base flat. If the back plate flexes at the joint, add a 3 mm fillet or a small gusset.
3. Hook for a 5 kg bag. An arm 20 mm wide and 6 mm thick, reaching 30 mm from the wall and curling up 15 mm at the tip, on a 20 x 60 mm back plate with two 4.5 mm screw holes. A back-of-envelope estimate puts 5 kg on a 30 mm arm at about 12 MPa of bending stress in that section, a few times below the tensile strength usually quoted for PLA and PETG. That is arithmetic, not a test. Orientation matters more: print it lying on its back so the layers run along the arm. Standing up, the same hook snaps at the bend.
4. Hose adapter, 32 to 50 mm. A stepped tube: 32 mm outside diameter for 30 mm, a 15 mm cone, then 50 mm outside diameter for 30 mm. Wall 2 mm. Add 0.3 mm to anything that slides into a port, take 0.3 mm off anything a hose slides over, then adjust from the first print. Print it standing up, no supports.
5. Knob for a 6 mm D-shaft. A 30 mm knob, 15 mm tall. The bore is 6.2 mm with a flat 5.7 mm from the round side, for the usual 0.5 mm shaft flat. Print it top face down so the bore needs no support. If it spins on the shaft, move the flat in by 0.1 mm and reprint.
Each of these is one sentence on the first route and a good first-weekend exercise on the third. Tinkercad manages the first three. The adapter's taper and the knob's D-bore are where it starts to hurt.
The easiest CAD for 3D printing, summed up
The easiest CAD for 3D printing is the one that gets your first part printed with the least time invested, and that depends on the part. For simple mechanical parts like clips, hooks, brackets and adapters, describing the part in plain words to a text-to-CAD tool is the fastest route: it returns a tested parametric model with sliders in minutes, with no CAD skill required. It does not handle organic shapes or large assemblies. Tinkercad is the easiest traditional option and takes about an hour to learn. It is free and runs in the browser. It builds parts from primitive blocks, so rounding an edge means using a shape that already has one, and changing a dimension on a finished design means rebuilding it. Fusion and Onshape take a weekend to learn and have no ceiling. Their free tiers carry conditions: Fusion's is limited and non-commercial, and Onshape's makes every document public.